


Hey there, fellow crafters! Today, I'm diving into a question I get asked a lot: "Can I use bias tape on a tulle project?" As a bias tape supplier, I've seen firsthand how versatile bias tape can be, and I'm excited to share my insights with you.
First off, let's talk about what bias tape is. Bias tape is a strip of fabric that's cut on the bias, which means it's cut at a 45-degree angle to the grain of the fabric. This gives the tape more stretch and flexibility than fabric cut on the straight grain, making it perfect for shaping around curves and edges. There are different types of bias tape, including Double Fold Bias Binding Tape and Single Fold Bias Binding Tape. You can check out our full range of Bias Binding Tape on our website.

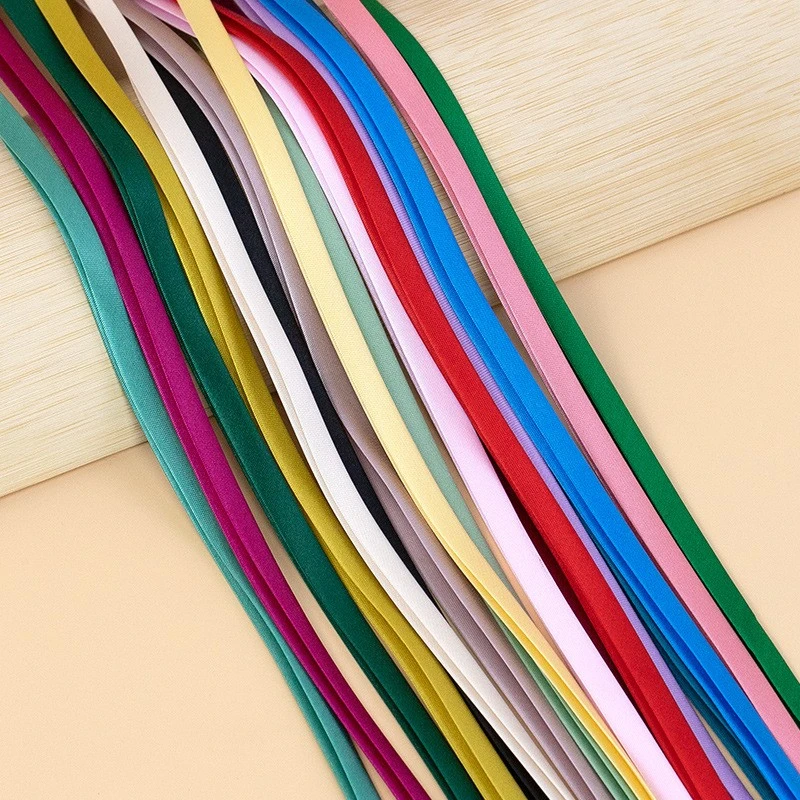
Now, onto the big question: can you use bias tape on a tulle project? The short answer is yes! Bias tape can be a great addition to tulle projects for several reasons.
Reasons to Use Bias Tape on Tulle Projects
1. Finishing Edges
Tulle is a delicate and sheer fabric that can fray easily. Using bias tape to finish the edges of your tulle project can prevent fraying and give it a clean, professional look. Whether you're making a tutu, a veil, or a decorative tulle overlay, bias tape can help keep the edges neat and tidy.
2. Adding Structure
Tulle is a very lightweight and floaty fabric, which can sometimes make it difficult to work with. Bias tape can add a bit of structure to your tulle project, making it easier to shape and manipulate. For example, if you're making a tulle skirt, using bias tape around the waistband can help it hold its shape better.
3. Decorative Purposes
Bias tape comes in a wide variety of colors, patterns, and materials, which means you can use it to add a decorative touch to your tulle project. You can choose a bias tape that matches the color of your tulle for a subtle look, or go for a contrasting color to make a bold statement. You can also use patterned bias tape to add some visual interest to your project.
How to Use Bias Tape on Tulle Projects
Now that you know why you should use bias tape on your tulle project, let's talk about how to do it. Here are some general steps to follow:
1. Choose the Right Bias Tape
When choosing bias tape for your tulle project, consider the weight and thickness of the tulle. For lightweight tulle, a thin bias tape is usually best, while for heavier tulle, a thicker bias tape may be more appropriate. You should also choose a bias tape that complements the color and style of your tulle.
2. Prepare the Bias Tape
If you're using double fold bias tape, you'll need to open it up and press it flat. This will make it easier to attach to the tulle. If you're using single fold bias tape, you can leave it as is.
3. Attach the Bias Tape
There are a few different ways to attach bias tape to tulle, depending on the type of project you're making. Here are some common methods:
- Sewing: This is the most common method of attaching bias tape to tulle. You can use a sewing machine or sew by hand. If you're using a sewing machine, use a fine needle and a straight stitch. Sew the bias tape to the tulle along the edge, making sure to catch both the tulle and the bias tape.
- Gluing: If you don't want to sew, you can use fabric glue to attach the bias tape to the tulle. Apply a thin layer of glue to the back of the bias tape and press it onto the tulle. Make sure to hold it in place for a few seconds to allow the glue to dry.
- Ironing: Some types of bias tape are heat-activated, which means you can attach them to the tulle using an iron. Follow the instructions on the bias tape packaging for the best results.
4. Finish the Project
Once you've attached the bias tape to the tulle, you can finish your project as desired. This may involve hemming the edges, adding embellishments, or attaching the tulle to a base.
Tips and Tricks
Here are some tips and tricks to help you use bias tape on your tulle projects:
- Use a Pins: When attaching the bias tape to the tulle, use pins to hold it in place. This will make it easier to sew or glue the bias tape evenly.
- Be Gentle: Tulle is a delicate fabric, so be gentle when working with it. Avoid pulling or stretching the tulle too much, as this can cause it to tear or fray.
- Test First: Before using bias tape on your entire tulle project, test it on a small piece of tulle first. This will help you make sure you're using the right method and that the bias tape looks good with the tulle.
Examples of Tulle Projects with Bias Tape
Here are some examples of tulle projects that you can use bias tape on:
1. Tutu
A tutu is a classic tulle project that can be made even more beautiful with the addition of bias tape. You can use bias tape to finish the edges of the tulle layers and add a decorative touch to the waistband.
2. Veil
A veil is another popular tulle project that can benefit from the use of bias tape. Using bias tape to finish the edges of the veil can prevent fraying and give it a more polished look. You can also use bias tape to add a decorative border around the veil.
3. Tulle Scarf
A tulle scarf is a simple and elegant accessory that can be made using bias tape. You can use bias tape to finish the edges of the scarf and add a bit of structure to it. You can also use patterned bias tape to make the scarf more interesting.
Conclusion
In conclusion, bias tape can be a great addition to tulle projects. It can help finish edges, add structure, and add a decorative touch to your projects. Whether you're a beginner or an experienced crafter, using bias tape on your tulle projects can take them to the next level.
If you're interested in purchasing bias tape for your tulle projects, we'd love to hear from you. We offer a wide range of bias tapes in different colors, patterns, and materials to suit your needs. If you have any questions or would like to discuss your project requirements, please don't hesitate to get in touch. We're here to help you find the perfect bias tape for your next tulle project.
References
- "The Complete Guide to Sewing with Tulle" by Sewing World Magazine
- "Bias Tape Basics" by Crafting Ideas Online


