


Hey there, fellow crafters! I'm super stoked to chat with you about an awesome question I get all the time: "Can I use bias tape on a pillow?" As a bias tape supplier, I've seen firsthand how this nifty little strip of fabric can transform a simple pillow into a work of art. So, let's dive in and explore the wonderful world of using bias tape on pillows!
First off, what exactly is bias tape? Well, it's a narrow strip of fabric that's cut on the bias, which means it's cut at a 45-degree angle to the grain of the fabric. This gives it a unique stretch and flexibility that makes it perfect for all sorts of projects, including pillows. There are different types of bias tape, like Single Fold Bias Binding Tape, Bias Binding Tape, and Double Fold Bias Binding Tape, each with its own uses and advantages.
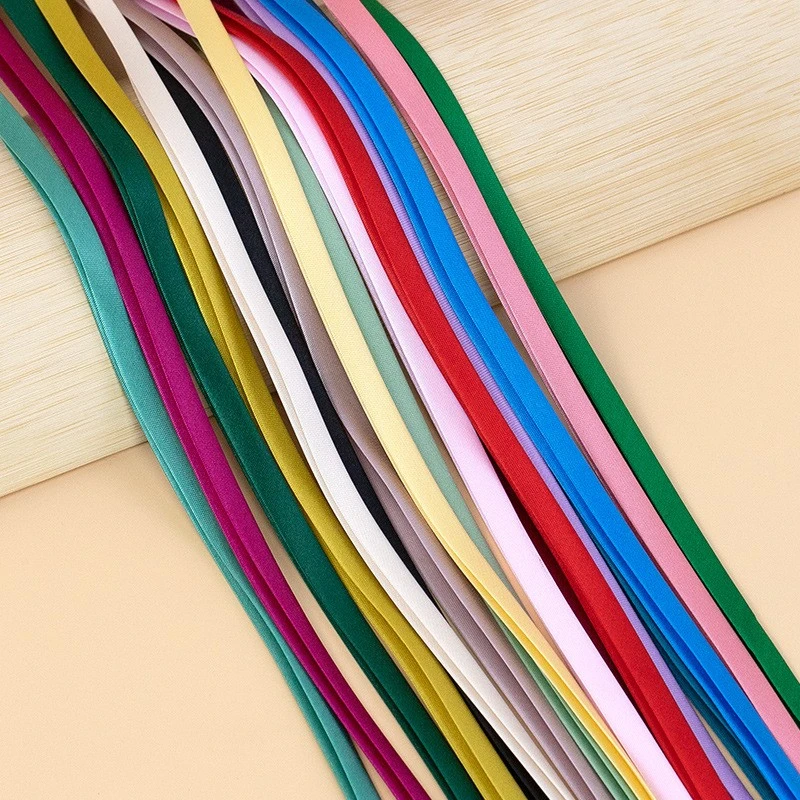

Now, let's talk about why using bias tape on a pillow is such a great idea. One of the biggest benefits is that it adds a professional and polished look to your pillow. Whether you're making a simple throw pillow or a more elaborate decorative one, bias tape can give it that extra touch of elegance. It can also be used to cover raw edges, which not only makes your pillow look better but also helps to prevent fraying and wear over time.
Another advantage of using bias tape is that it's incredibly versatile. You can use it in a variety of ways to create different looks and effects. For example, you can use it to create a border around the edge of your pillow, which can add a pop of color or a decorative element. You can also use it to create piping, which is a raised edge that adds a three-dimensional look to your pillow. And if you're feeling really creative, you can use bias tape to create patterns or designs on your pillow, like stripes or chevrons.
So, how do you actually use bias tape on a pillow? Well, the process is pretty straightforward, but it does require a little bit of patience and practice. Here's a step-by-step guide to help you get started:
Step 1: Choose the Right Bias Tape
The first step is to choose the right type and width of bias tape for your project. As I mentioned earlier, there are different types of bias tape, so you'll need to choose the one that's best suited for your needs. If you're using bias tape to create a border around the edge of your pillow, you'll want to choose a single fold or double fold bias tape. If you're using it to create piping, you'll want to choose a bias tape that's wide enough to wrap around a cord or tube.
Step 2: Prepare Your Pillow
Once you've chosen your bias tape, it's time to prepare your pillow. This involves cutting your pillow fabric to the desired size and shape, and then sewing the pieces together to form the pillow. Make sure to leave an opening in one of the seams so that you can stuff the pillow later.
Step 3: Attach the Bias Tape
Now it's time to attach the bias tape to your pillow. If you're using bias tape to create a border, you'll want to start by pinning the bias tape to the edge of the pillow, with the raw edge of the bias tape aligned with the raw edge of the pillow fabric. Then, sew the bias tape to the pillow using a straight stitch, making sure to stitch close to the edge of the bias tape.
If you're using bias tape to create piping, you'll want to start by inserting a cord or tube into the bias tape. Then, pin the bias tape to the edge of the pillow, with the cord or tube centered in the bias tape. Sew the bias tape to the pillow using a zipper foot, making sure to stitch close to the edge of the bias tape.
Step 4: Finish the Pillow
Once you've attached the bias tape to your pillow, it's time to finish the pillow. This involves stuffing the pillow through the opening in the seam, and then sewing the opening closed. You can use a ladder stitch or a whip stitch to close the opening, making sure to stitch the seam as invisibly as possible.
And that's it! You've successfully used bias tape on a pillow. Now, you can sit back and admire your handiwork, and enjoy your beautiful new pillow.
Of course, there are a few tips and tricks that can help you make your bias tape project even better. Here are some of my favorites:
- Use a Rotary Cutter and Cutting Mat: A rotary cutter and cutting mat can make it much easier to cut your bias tape straight and accurately. They're also great for cutting your pillow fabric to the desired size and shape.
- Use a Walking Foot: A walking foot can help to prevent your fabric from shifting as you sew, which can make it easier to sew your bias tape straight and evenly.
- Press Your Seams: Pressing your seams as you go can help to make your bias tape project look neater and more professional. Use a hot iron and a pressing cloth to press your seams open or to one side, depending on the type of bias tape you're using.
- Experiment with Different Techniques: Don't be afraid to experiment with different techniques and styles to create your own unique look. You can try using different colors and patterns of bias tape, or you can try using different sewing stitches to create different effects.
In conclusion, using bias tape on a pillow is a great way to add a professional and polished look to your project. It's versatile, easy to use, and can be used in a variety of ways to create different looks and effects. Whether you're a beginner or an experienced crafter, I highly recommend giving it a try.
If you're interested in purchasing bias tape for your next project, I'd love to hear from you. As a bias tape supplier, I offer a wide range of high-quality bias tapes in different colors, patterns, and widths. Whether you're looking for single fold bias binding tape, double fold bias binding tape, or something else, I've got you covered. So, if you have any questions or if you're ready to place an order, please don't hesitate to contact me. I'd be happy to help you find the perfect bias tape for your project.
Thanks for reading, and happy crafting!
References
- Sewing for Dummies, by Sue Patrick
- The Complete Photo Guide to Sewing, by Editors of Creative Publishing International


