


As a bias tape supplier, I often get asked whether it's possible to use bias tape on knitted items. The short answer is yes, you can! In fact, bias tape can be a great addition to knitted projects, adding both functionality and style. In this blog post, I'll explore the ins and outs of using bias tape on knitted items, including the types of bias tape to choose from, how to apply it, and some tips and tricks to make the process easier.

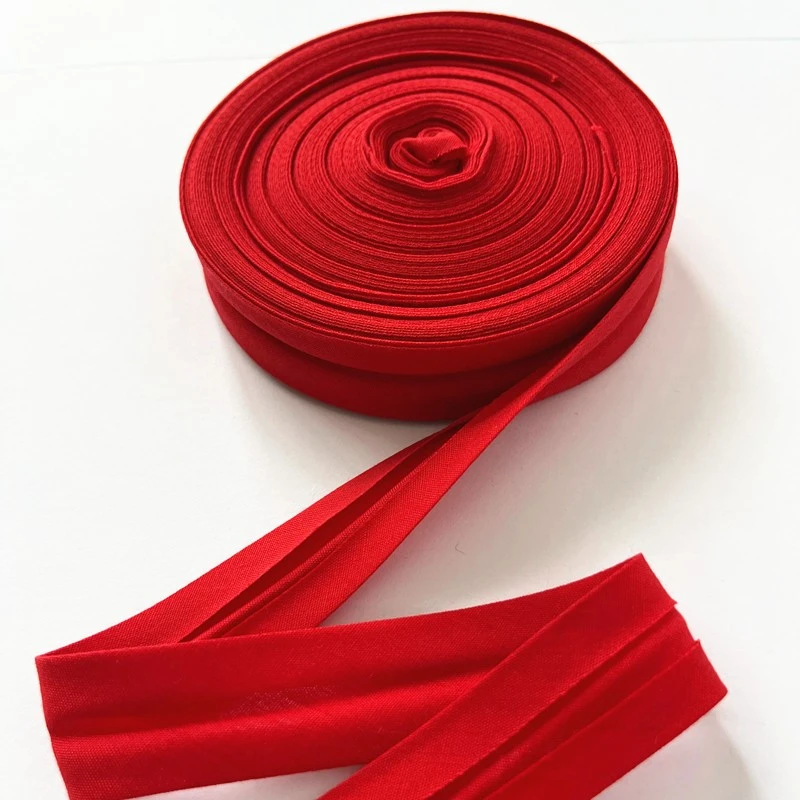
Types of Bias Tape for Knitted Items
When it comes to using bias tape on knitted items, there are a few different types to choose from. The two most common types are single fold bias binding tape and double fold bias binding tape.
Single Fold Bias Binding Tape
Single Fold Bias Binding Tape is a narrow strip of fabric that has been cut on the bias and folded in half lengthwise. It's typically used to finish the raw edges of a fabric or to create a decorative trim. Single fold bias tape is a great option for knitted items because it's lightweight and flexible, making it easy to work with. It's also available in a wide range of colors and patterns, so you can choose the perfect tape to match your project.
Double Fold Bias Binding Tape
Double Fold Bias Binding Tape is similar to single fold bias tape, but it's been folded in half twice, creating a wider strip of fabric with a finished edge on both sides. Double fold bias tape is often used to bind the edges of a fabric or to create a more substantial trim. It's a great option for knitted items that need a little extra durability or structure, such as blankets, scarves, or sweaters.
Benefits of Using Bias Tape on Knitted Items
There are several benefits to using bias tape on knitted items. Here are just a few:
Finished Edges
One of the main benefits of using bias tape on knitted items is that it gives the edges a clean, finished look. Knitted fabrics can often have loose or frayed edges, which can make the item look unfinished or unprofessional. By using bias tape to finish the edges, you can create a neat and tidy appearance that will make your project look more polished.
Protection
Bias tape can also help to protect the edges of your knitted item from wear and tear. Knitted fabrics are often delicate and can easily unravel or stretch out over time. By using bias tape to bind the edges, you can prevent the fabric from fraying or stretching, which will help to extend the life of your project.
Decoration
In addition to its functional benefits, bias tape can also be used to add a decorative touch to your knitted items. There are a wide variety of colors, patterns, and textures available, so you can choose the perfect tape to match your project and add a unique and personalized touch. Whether you're looking for a subtle accent or a bold statement, bias tape can help you achieve the look you want.
How to Apply Bias Tape to Knitted Items
Applying bias tape to knitted items is a relatively simple process, but it does require a little patience and practice. Here's a step-by-step guide to help you get started:
Step 1: Prepare Your Bias Tape
Before you start applying the bias tape, you'll need to prepare it by cutting it to the appropriate length. Measure the length of the edge you want to bind and add a few extra inches to allow for seam allowances. Then, cut the bias tape to the desired length using sharp scissors or a rotary cutter.
Step 2: Pin the Bias Tape
Once you have your bias tape cut to the appropriate length, you can start pinning it to the edge of your knitted item. Start by folding the bias tape in half lengthwise, wrong sides together. Then, place the folded edge of the bias tape along the raw edge of the knitted item, with the right side of the bias tape facing the right side of the knitted item. Pin the bias tape in place, making sure to keep the edges aligned and the tape taut.
Step 3: Sew the Bias Tape
Once the bias tape is pinned in place, you can start sewing it to the knitted item. You can use a sewing machine or hand sew the bias tape, depending on your preference and the type of project you're working on. If you're using a sewing machine, set it to a straight stitch and sew along the edge of the bias tape, close to the folded edge. If you're hand sewing, use a running stitch or a whipstitch to attach the bias tape to the knitted item.
Step 4: Fold and Sew the Other Side
After you've sewn one side of the bias tape to the knitted item, you'll need to fold the other side of the bias tape over the sewn edge and sew it in place. To do this, fold the bias tape over the sewn edge, making sure to keep the edges aligned and the tape taut. Then, pin the folded edge of the bias tape in place and sew it to the knitted item using the same method as before.
Step 5: Finish the Ends
Once you've sewn the bias tape to the entire edge of the knitted item, you'll need to finish the ends. To do this, overlap the ends of the bias tape by a few inches and sew them together using a straight stitch or a whipstitch. Then, trim any excess bias tape and press the seam flat.
Tips and Tricks for Using Bias Tape on Knitted Items
Here are a few tips and tricks to help you use bias tape on knitted items more effectively:
Choose the Right Bias Tape
When choosing bias tape for your knitted item, it's important to choose a tape that is the right width and weight for your project. If the bias tape is too wide or too heavy, it may add too much bulk to your project and make it look stiff or uncomfortable. On the other hand, if the bias tape is too narrow or too lightweight, it may not provide enough support or protection for the edges of your knitted item.
Use a Pinsetter
Using a pinsetter can make it easier to pin the bias tape to the knitted item. A pinsetter is a tool that allows you to insert pins quickly and easily, without having to use your fingers. This can be especially helpful if you're working with a large or bulky project.
Press the Seams
Pressing the seams as you go can help to make the bias tape lay flat and look more professional. Use a hot iron and a pressing cloth to press the seams after each step of the process. This will help to set the stitches and make the bias tape look more polished.
Practice on a Scrap Piece of Fabric
If you're new to using bias tape on knitted items, it's a good idea to practice on a scrap piece of fabric before you start working on your actual project. This will allow you to get a feel for the process and make any necessary adjustments before you start working on your final project.
Conclusion
In conclusion, using bias tape on knitted items is a great way to add both functionality and style to your projects. Whether you're looking to finish the edges, protect the fabric, or add a decorative touch, bias tape can help you achieve the look you want. By choosing the right type of bias tape, preparing it properly, and following the steps outlined in this blog post, you can easily apply bias tape to your knitted items and create a professional-looking finish.
If you're interested in purchasing bias tape for your next knitted project, please don't hesitate to contact us. As a leading Bias Binding Tape supplier, we offer a wide range of high-quality bias tapes in a variety of colors, patterns, and widths. We're committed to providing our customers with the best products and services, and we're always happy to help you find the perfect bias tape for your project.
References
- "Bias Tape Basics." Sewing.org. Accessed [Date].
- "How to Apply Bias Tape." Martha Stewart Living. Accessed [Date].
- "Using Bias Tape on Knitted Items." Knitting Daily. Accessed [Date].


